What do Tinder, Hinge, and Bumble have in common? Apart from the fact that all these apps help find a life partner, they are all united by one popular mechanic, namely swipes. Swipe left to skip, swipe right to like. We decided to brainstorm and implement such mechanics in email marketing. And we did it.
This game mechanic can find many uses in email marketing:
- stores can learn more about recipients with this mechanic on what audience like and dislike, for better future email personalization and product recommendations;
- game grant an opportunity to give recipients special offers depending on what goods they are “liked”;
- and much more.
In this article, we will show you in detail how to create a full-fledged game that will include:
- AMP version of the game with five images;
- interactive HTML version with the same five images;
- fallback version for email clients that do not support interactivity.
Let’s dive right in.
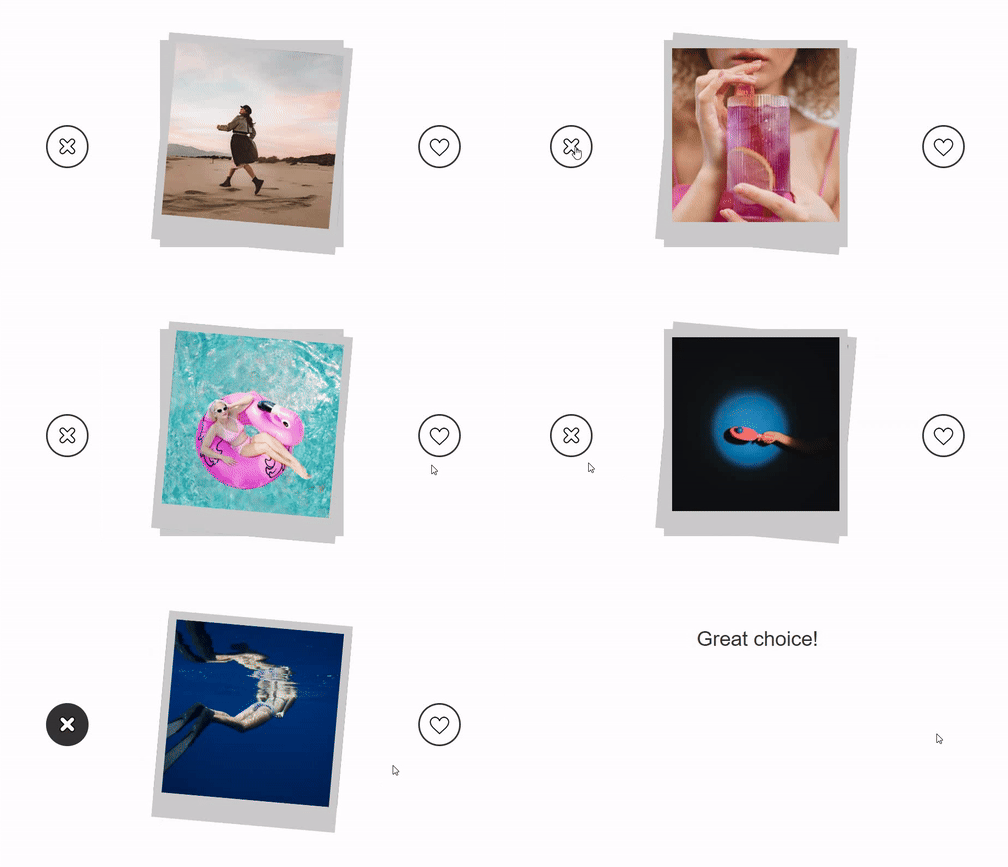
Important note: On mobile devices, this game requires clicking on buttons, just like on the desktop version.
AMP version
Let’s start with the full code of the AMP version, that looks like this:
=5">
=5 ? 'turn hide '+direction : 'turn'" class="turn" style="background-image:url(https://zlnfb.stripocdn.email/content/guids/CABINET_ae8966dae28bde57b03cb58d7cf4ccc98e9a70aefdbfb6ab39fb9522001b990b/images/0f3561545ba54dac81427413014e5e29_8yw.jpeg);">
=4 ? 'hide '+direction : ''" style="background-image:url(https://zlnfb.stripocdn.email/content/guids/CABINET_ae8966dae28bde57b03cb58d7cf4ccc98e9a70aefdbfb6ab39fb9522001b990b/images/09fce28b8e864fe0a789ad18ea82d94a_Y1U.jpeg);">
=3 ? 'turn hide '+direction : 'turn'" class="turn" style="background-image:url(https://zlnfb.stripocdn.email/content/guids/CABINET_ae8966dae28bde57b03cb58d7cf4ccc98e9a70aefdbfb6ab39fb9522001b990b/images/08310c6c29e04188bf3c6c836757c65d_Hg6.jpeg);">
=2 ? 'hide '+direction : ''" style="background-image:url(https://zlnfb.stripocdn.email/content/guids/CABINET_efee7e987d401eb6229e290061b7146290b32f77ab86ee8dd79a59a6ef0a5152/images/019a8993af7b4c32a48c4616560ecfc2.jpeg)">
=1 ? 'turn hide '+direction : 'turn'" class="turn" style="background-image:url(https://zlnfb.stripocdn.email/content/guids/CABINET_efee7e987d401eb6229e290061b7146290b32f77ab86ee8dd79a59a6ef0a5152/images/001fe42d8cc040de9a9ff2bb349b4a5f.jpeg)">
Now, to the explanation. Creating your game starts with these steps:
- add an empty structure to the email;
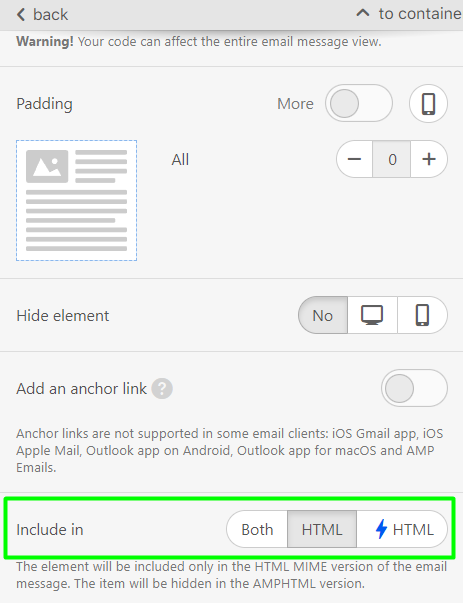
- select “Include in AMP HTML” in its settings.
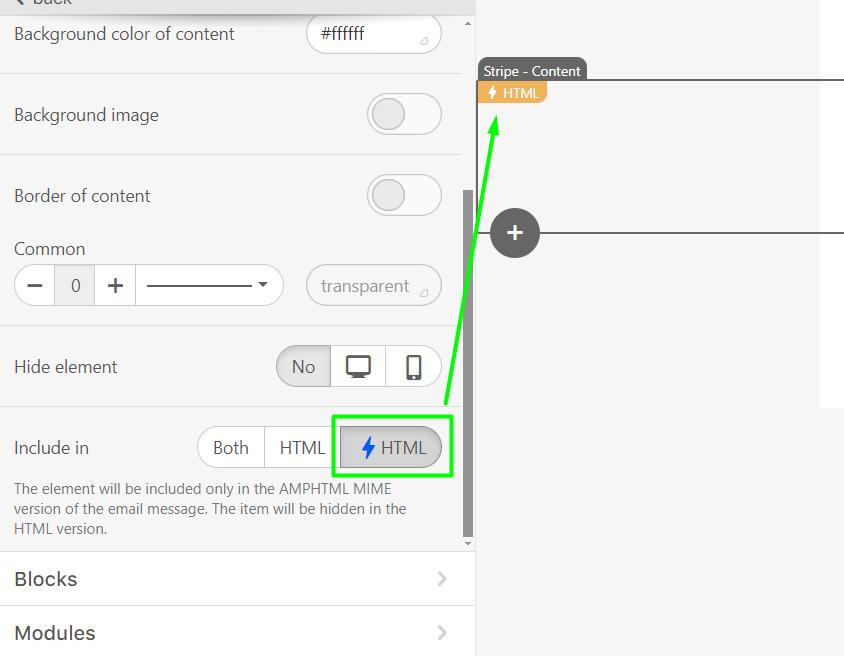
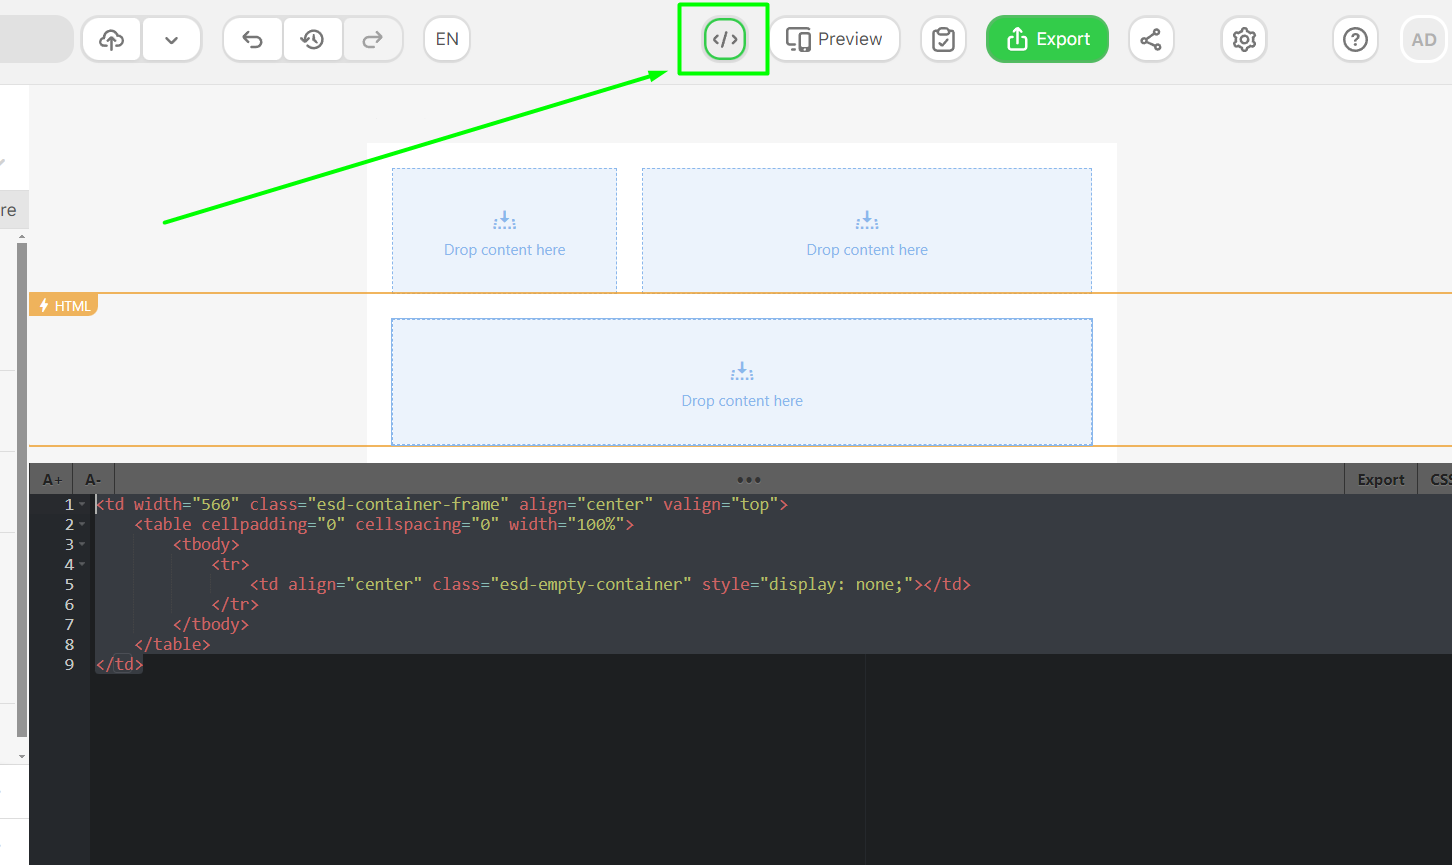
- next, we pull the “HTML” block into this structure and paste the following code into it instead of the existing code in the block.
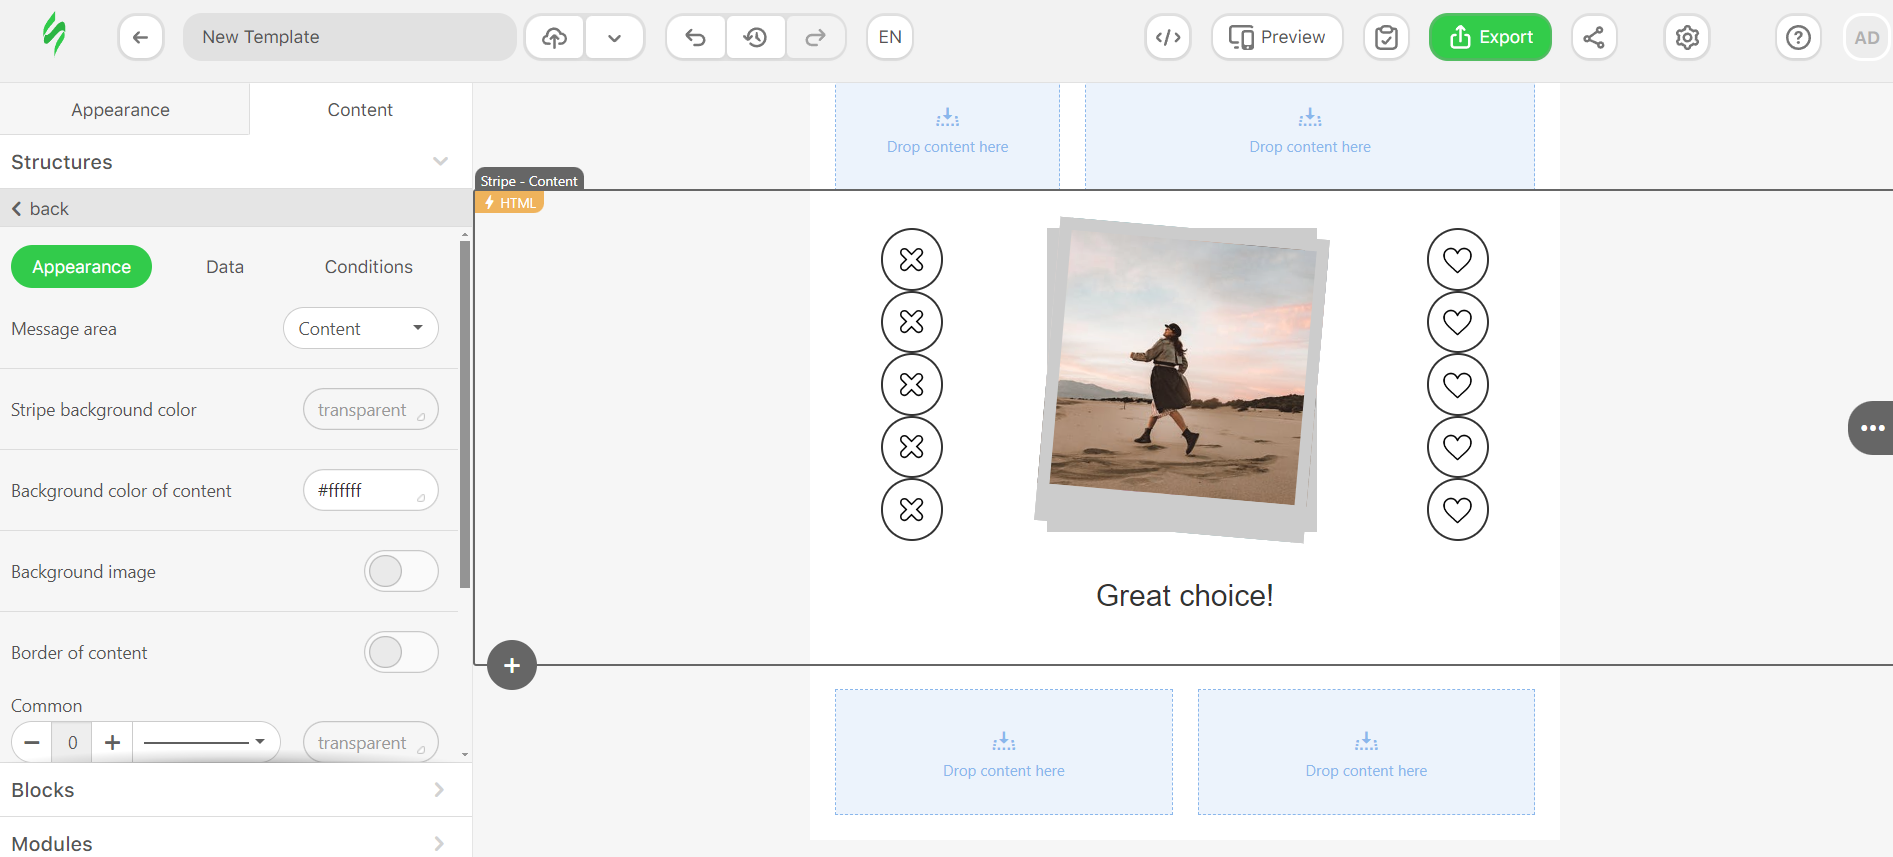
We have an element with photos and like/dislike buttons. Besides that, cards with photos are displayed immediately and are located on top of each other. Every second card is slightly rotated. The rotation degree is specified in the styles in the form of .swipe-it-amp .turn { transform: rotate(5deg); }.
Each card has its own like/dislike buttons that are all displayed now in the email editing area, but will be hidden from the recipient (they will see only the buttons to the corresponding image). Also, the endgame message is currently visible, but it will be shown after the game is over.
“Dislike” button
Here’s how the code for the “Dislike” button looks like.

Let’s discuss this code in detail:
- role=”button” acting as a button;
- tabindex=”1″ is a mandatory attribute if there is a role=”button” sets the sequence of receiving focus when switching between elements using the Tab key;
- on=”tap:AMP.setState({ direction: ‘left’, order: 1, img1: ‘dislike’})” this part includes “click” event handler (on=”tap:”), and create several variables;
- direction is the first variable that we use to determine which way to move the cards so the values will be ‘left’ or ‘right’;
- order is a second variable that we use to write the number of the card in order, which is currently displayed;
- img1 is a third variable that is dedicated to each card (each one has its own img variable with a dedicated number) and used to write which button was clicked, ‘dislike’ or ‘like’ and then send this data to the server;
- [hidden]=”order>=1″ attribute hides the element when the condition is met (in our example, if the order variable is greater than or equal to 1, meaning when the 2nd card should be shown).
Besides that this code included in the all other label tags but all the numbers increased by 1 for each button.
In this part of code, hidden attribute hides the element by default. We need to display only the first button at once, the rest will be hidden.

“Like” button
The situation with this button is similar to the “Dislike” button, only in the direction variable, we specify the direction ‘right’ so that the cards move in the other direction, and in the variables img1, img2 we change the value to ‘like’:
For the first button we have the code [hidden]=”order>=1″ role=”button” tabindex=”1″ on=”tap:AMP.setState({ direction: ‘right’, order: 1, img1: ‘like’})”.
For the rest we have the same code, meanwhile increasing all numbers by 1 for each button.

Сards
Our buttons are already hidden, now we need to hide and animate the cards.
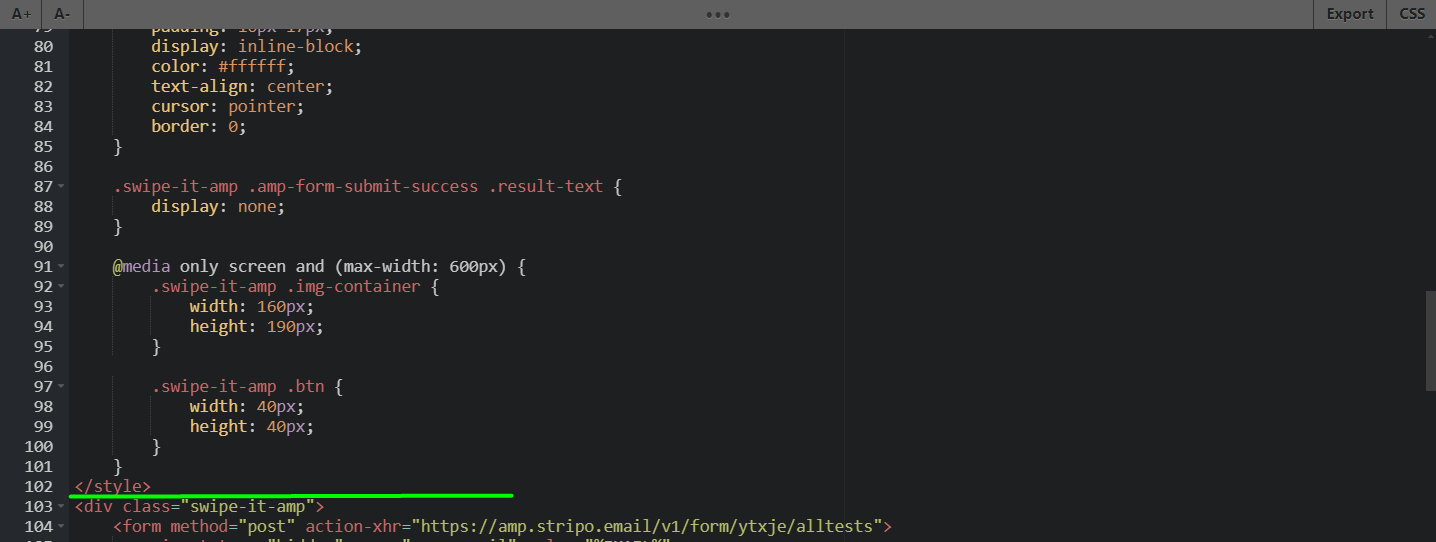
To do this, we add the following classes before the closing tag, so it will look like this:
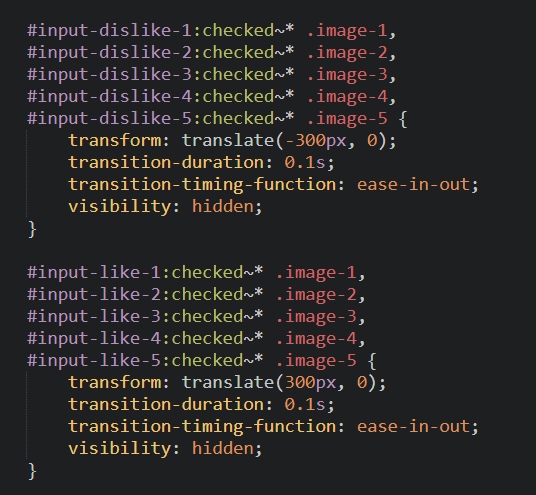
.swipe-it-amp .hide {
        transition-duration: 0.1s;
        transition-timing-function: ease-in-out;
        visibility: hidden;
    }

    .swipe-it-amp .left {
        transform: translate(-300px, 0);
    }

    .swipe-it-amp .right {
        transform: translate(300px, 0);
    }
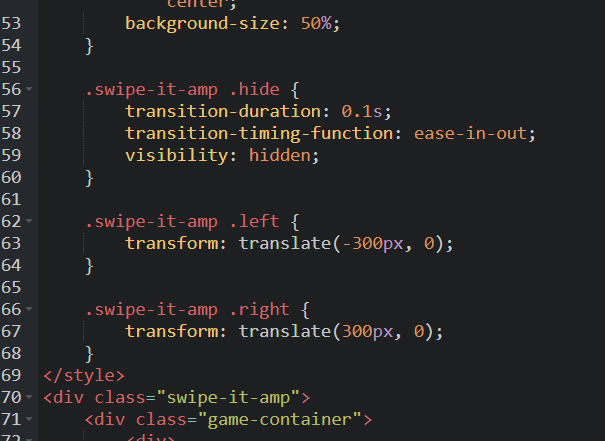
In the .hide class, we added the transition-duration: 0.1s; property so that the card does not hide instantly and the animation of the movement is visible.
After that, we need the conditions for when to add these classes.
=5 ? 'turn hide '+direction : 'turn'" class="turn" style="background-image:url(https://zlnfb.stripocdn.email/content/guids/CABINET_ae8966dae28bde57b03cb58d7cf4ccc98e9a70aefdbfb6ab39fb9522001b990b/images/0f3561545ba54dac81427413014e5e29_8yw.jpeg);">
=4 ? 'hide '+direction : ''" style="background-image:url(https://zlnfb.stripocdn.email/content/guids/CABINET_ae8966dae28bde57b03cb58d7cf4ccc98e9a70aefdbfb6ab39fb9522001b990b/images/09fce28b8e864fe0a789ad18ea82d94a_Y1U.jpeg);">
=3 ? 'turn hide '+direction : 'turn'" class="turn" style="background-image:url(https://zlnfb.stripocdn.email/content/guids/CABINET_ae8966dae28bde57b03cb58d7cf4ccc98e9a70aefdbfb6ab39fb9522001b990b/images/08310c6c29e04188bf3c6c836757c65d_Hg6.jpeg);">
=2 ? 'hide '+direction : ''" style="background-image:url(https://zlnfb.stripocdn.email/content/guids/CABINET_efee7e987d401eb6229e290061b7146290b32f77ab86ee8dd79a59a6ef0a5152/images/019a8993af7b4c32a48c4616560ecfc2.jpeg)">
=1 ? 'turn hide '+direction : 'turn'" class="turn" style="background-image:url(https://zlnfb.stripocdn.email/content/guids/CABINET_efee7e987d401eb6229e290061b7146290b32f77ab86ee8dd79a59a6ef0a5152/images/001fe42d8cc040de9a9ff2bb349b4a5f.jpeg)">
Note that our cards are one on top of the other. In the layout, the element that is lower in the code will be in the foreground. That is, our cards will be located in the layout not 1,2,3 but 3,2,1.
We have following attribute to the first card (the one lower in the code with the ‘turn’ class): [class]=”order>=1 ? ‘turn hide ‘+direction : ‘turn'” which is an attribute that contains the condition for displaying classes. If the value of the order variable is greater than or equal to 1, we add the turn class, the hide class, and the value of the direction variable. Otherwise, we will only leave the turn class. When the recipient clicks on the ‘Dislike’ or ‘Like’ buttons, the order number is written to the order variable 1,2,3, and so on. After this, we have the check and classes for card animation.
We have the same for the next ones, and where there is no turn class, we don’t add it. Besides that, we increase the number by 1 in the check for the order variable. As a result, for the second card it will be: [class]=”order>=2 ? ‘hide ‘+direction : ””, for the 3rd: [class]=”order>=3 ? ‘turn hide ‘+direction : ‘turn'” and so on.
Completion screen
The next step is creating conditions for displaying a message at the end of the game instead of the block with the game. To do this, we add the attribute [hidden]=”order>=5″ to the div tag with the class “game-container”.
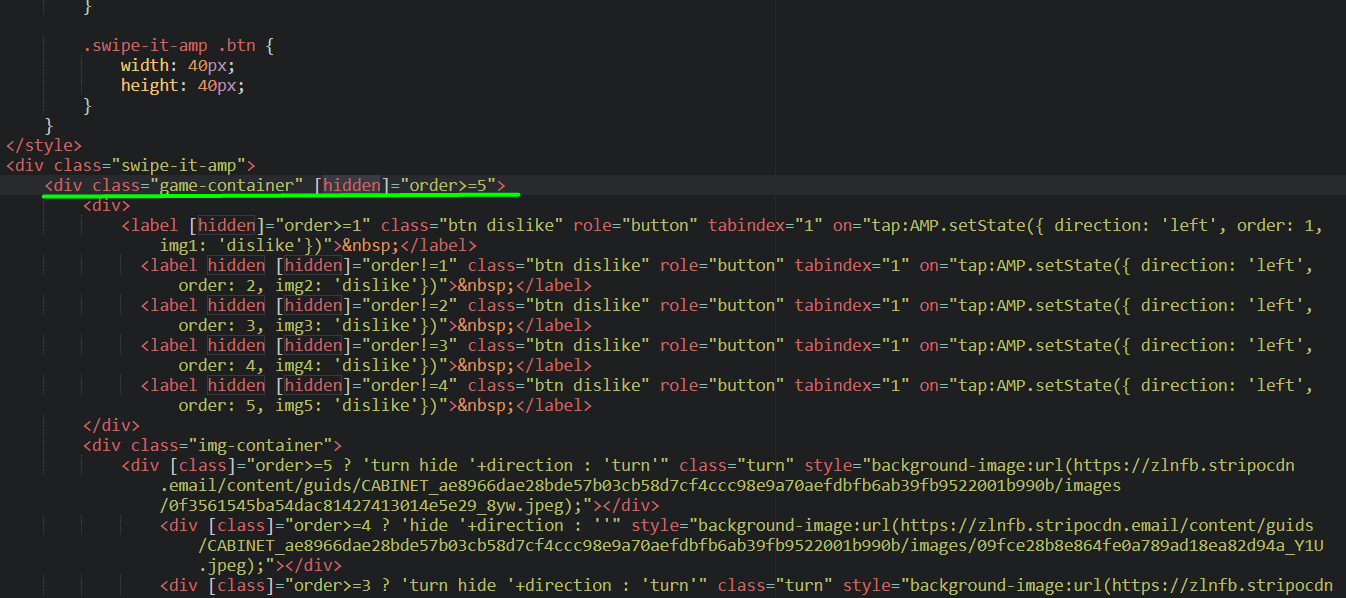
Besides that, we have the attribute hidden [hidden]=”order!=5″ to the div tag with the class “result”.

In this code the number 5 is the maximum number of cards, if we want to make more cards (for example 10) then we need to change it to 10.
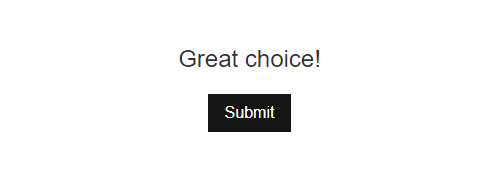
To change your completion message, just type your own here:

Meanwhile, changing “Submit” screen messages requires changing texts inside these code lines:

Gathering data
Our game is ready, but the data we receive from it is not yet sent to the server. The full code of the game with data gathering will look like this:
First we need to create a Data Service where all data will be stored.
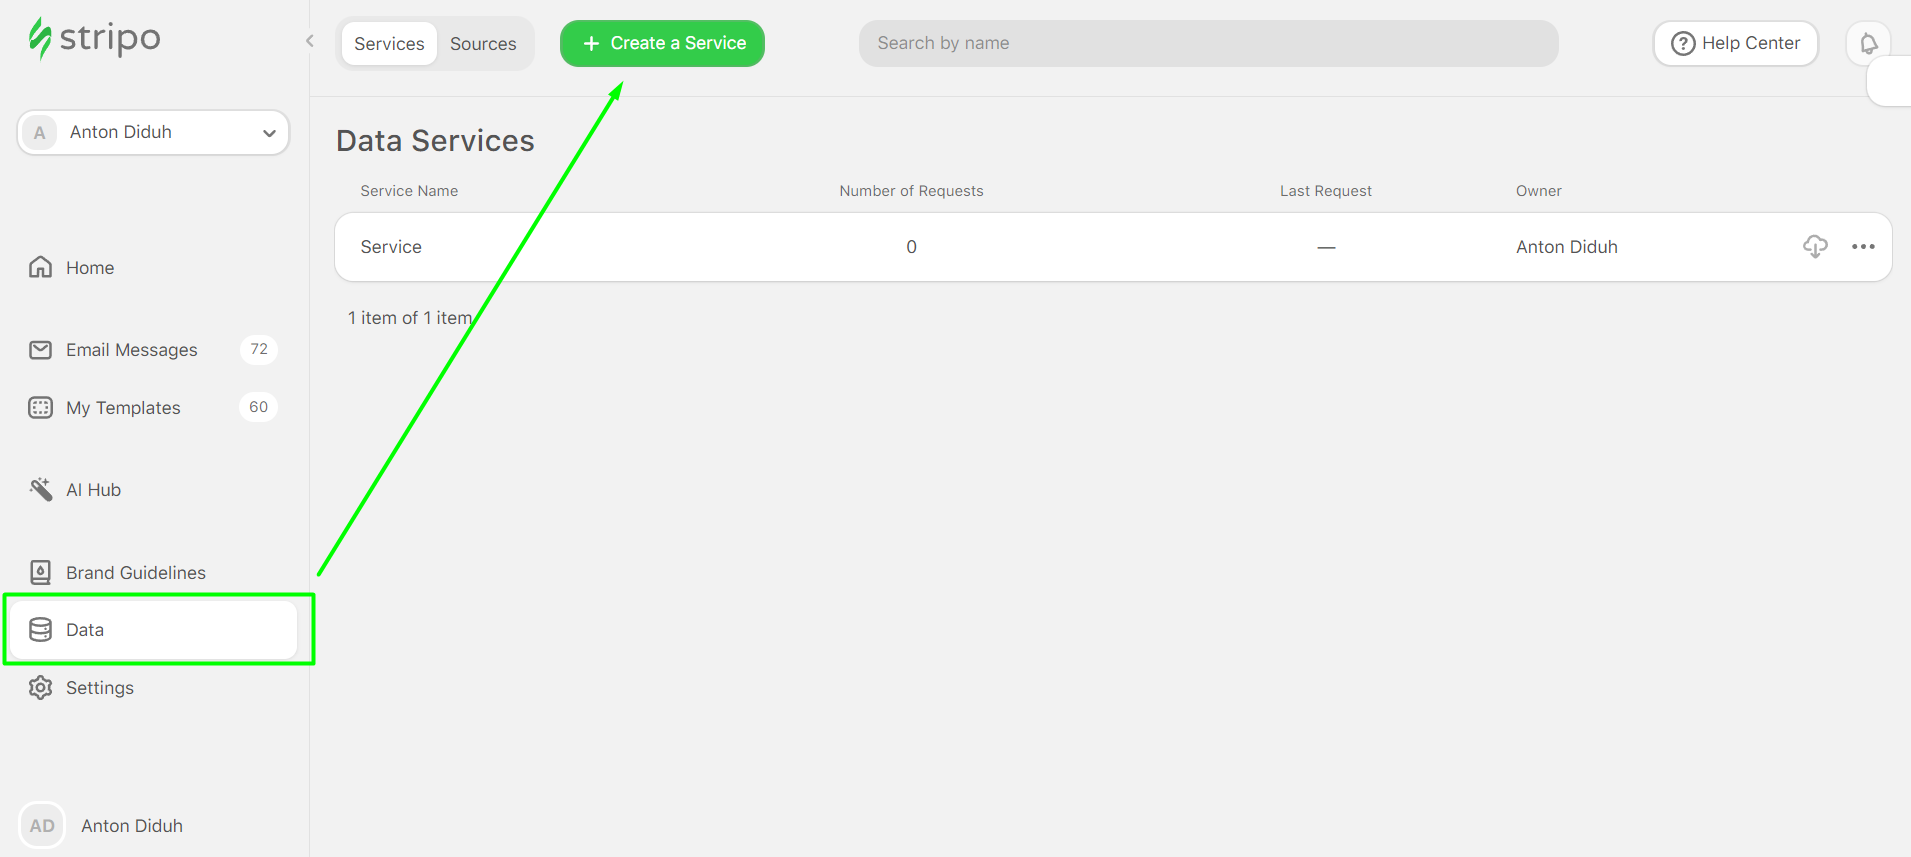
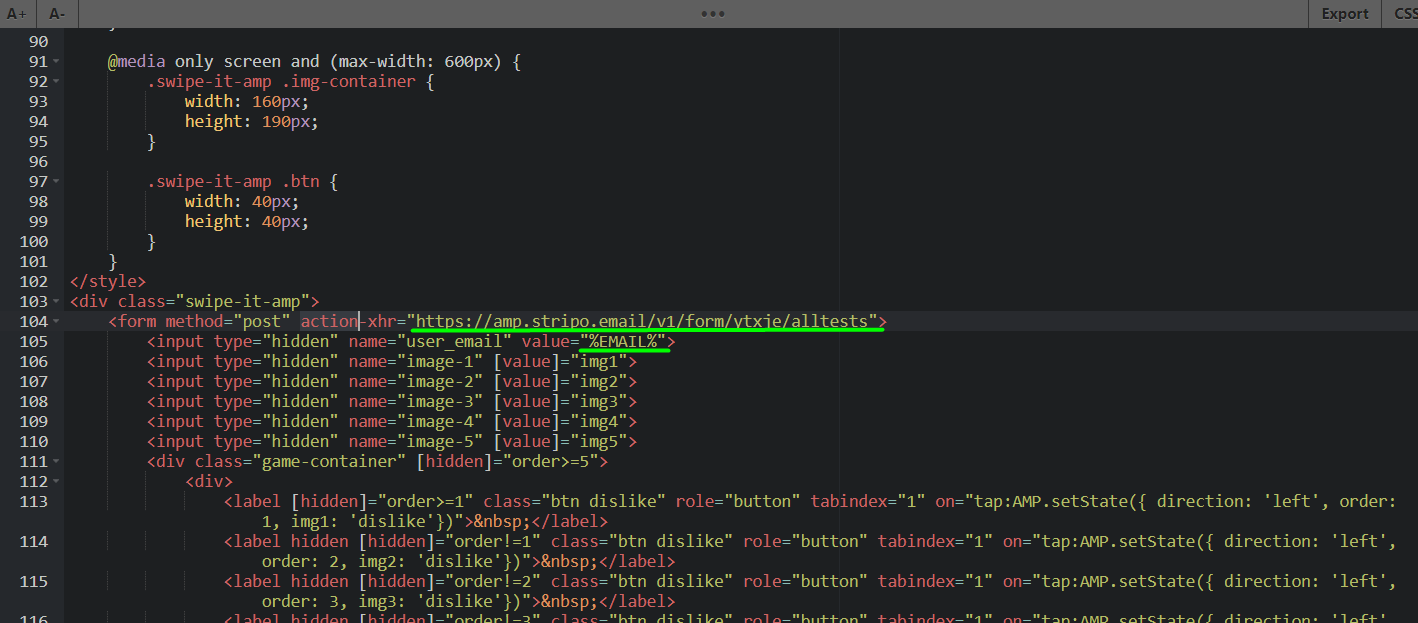
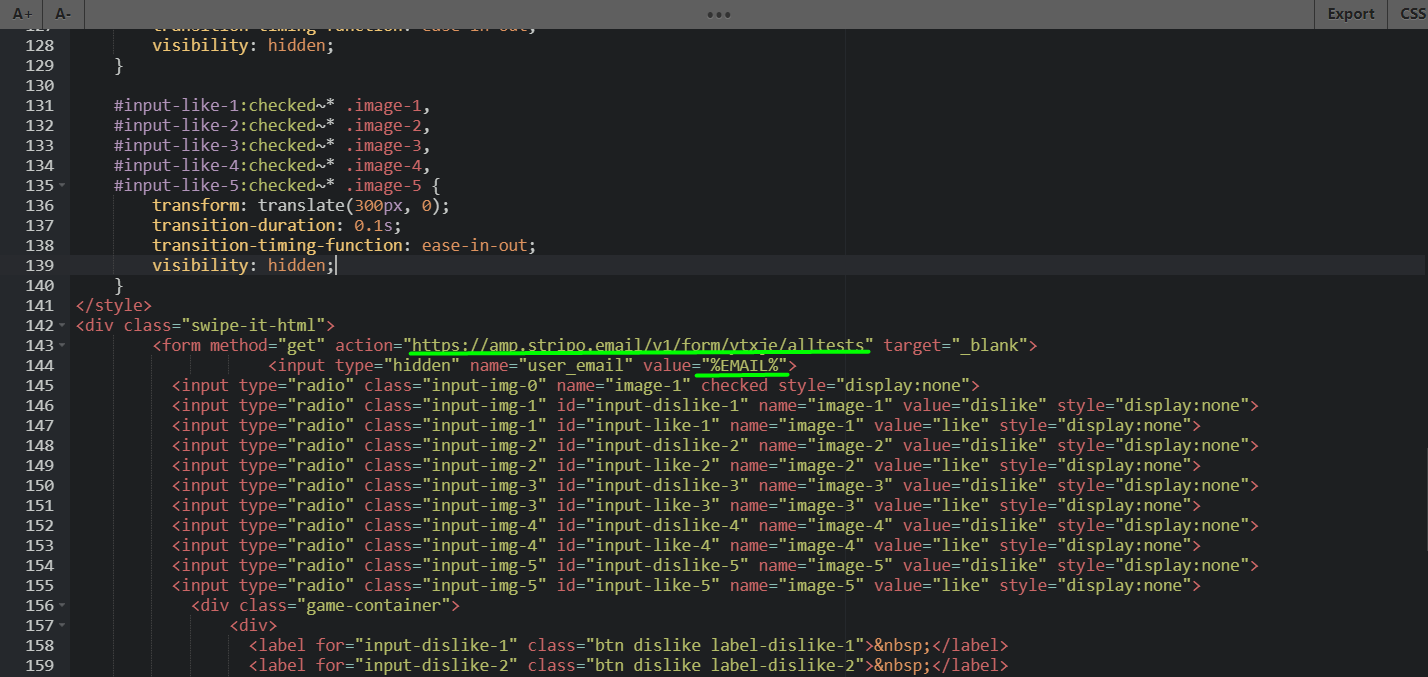
Once it’s done, we add the following code before the div tag with the class “game-container”:
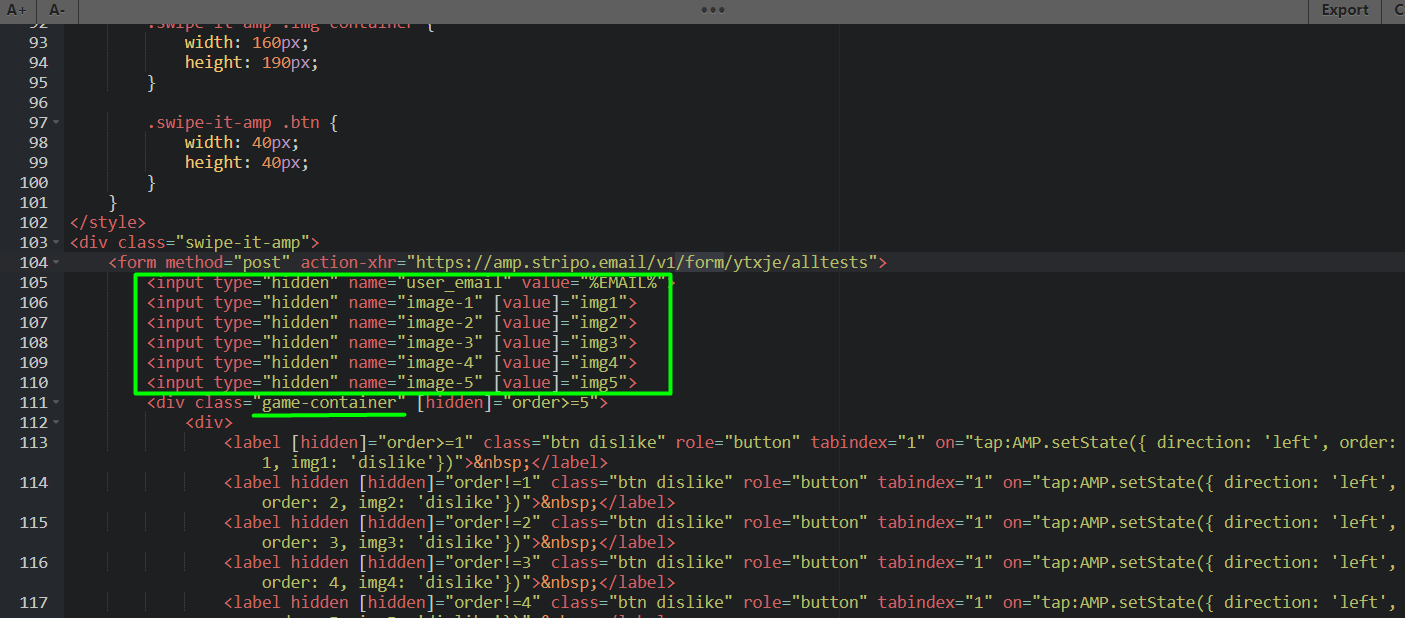
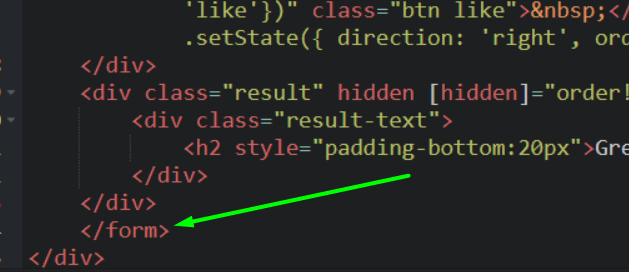
Besides that, we add the closing tag at the end of the code, before the last








Comments